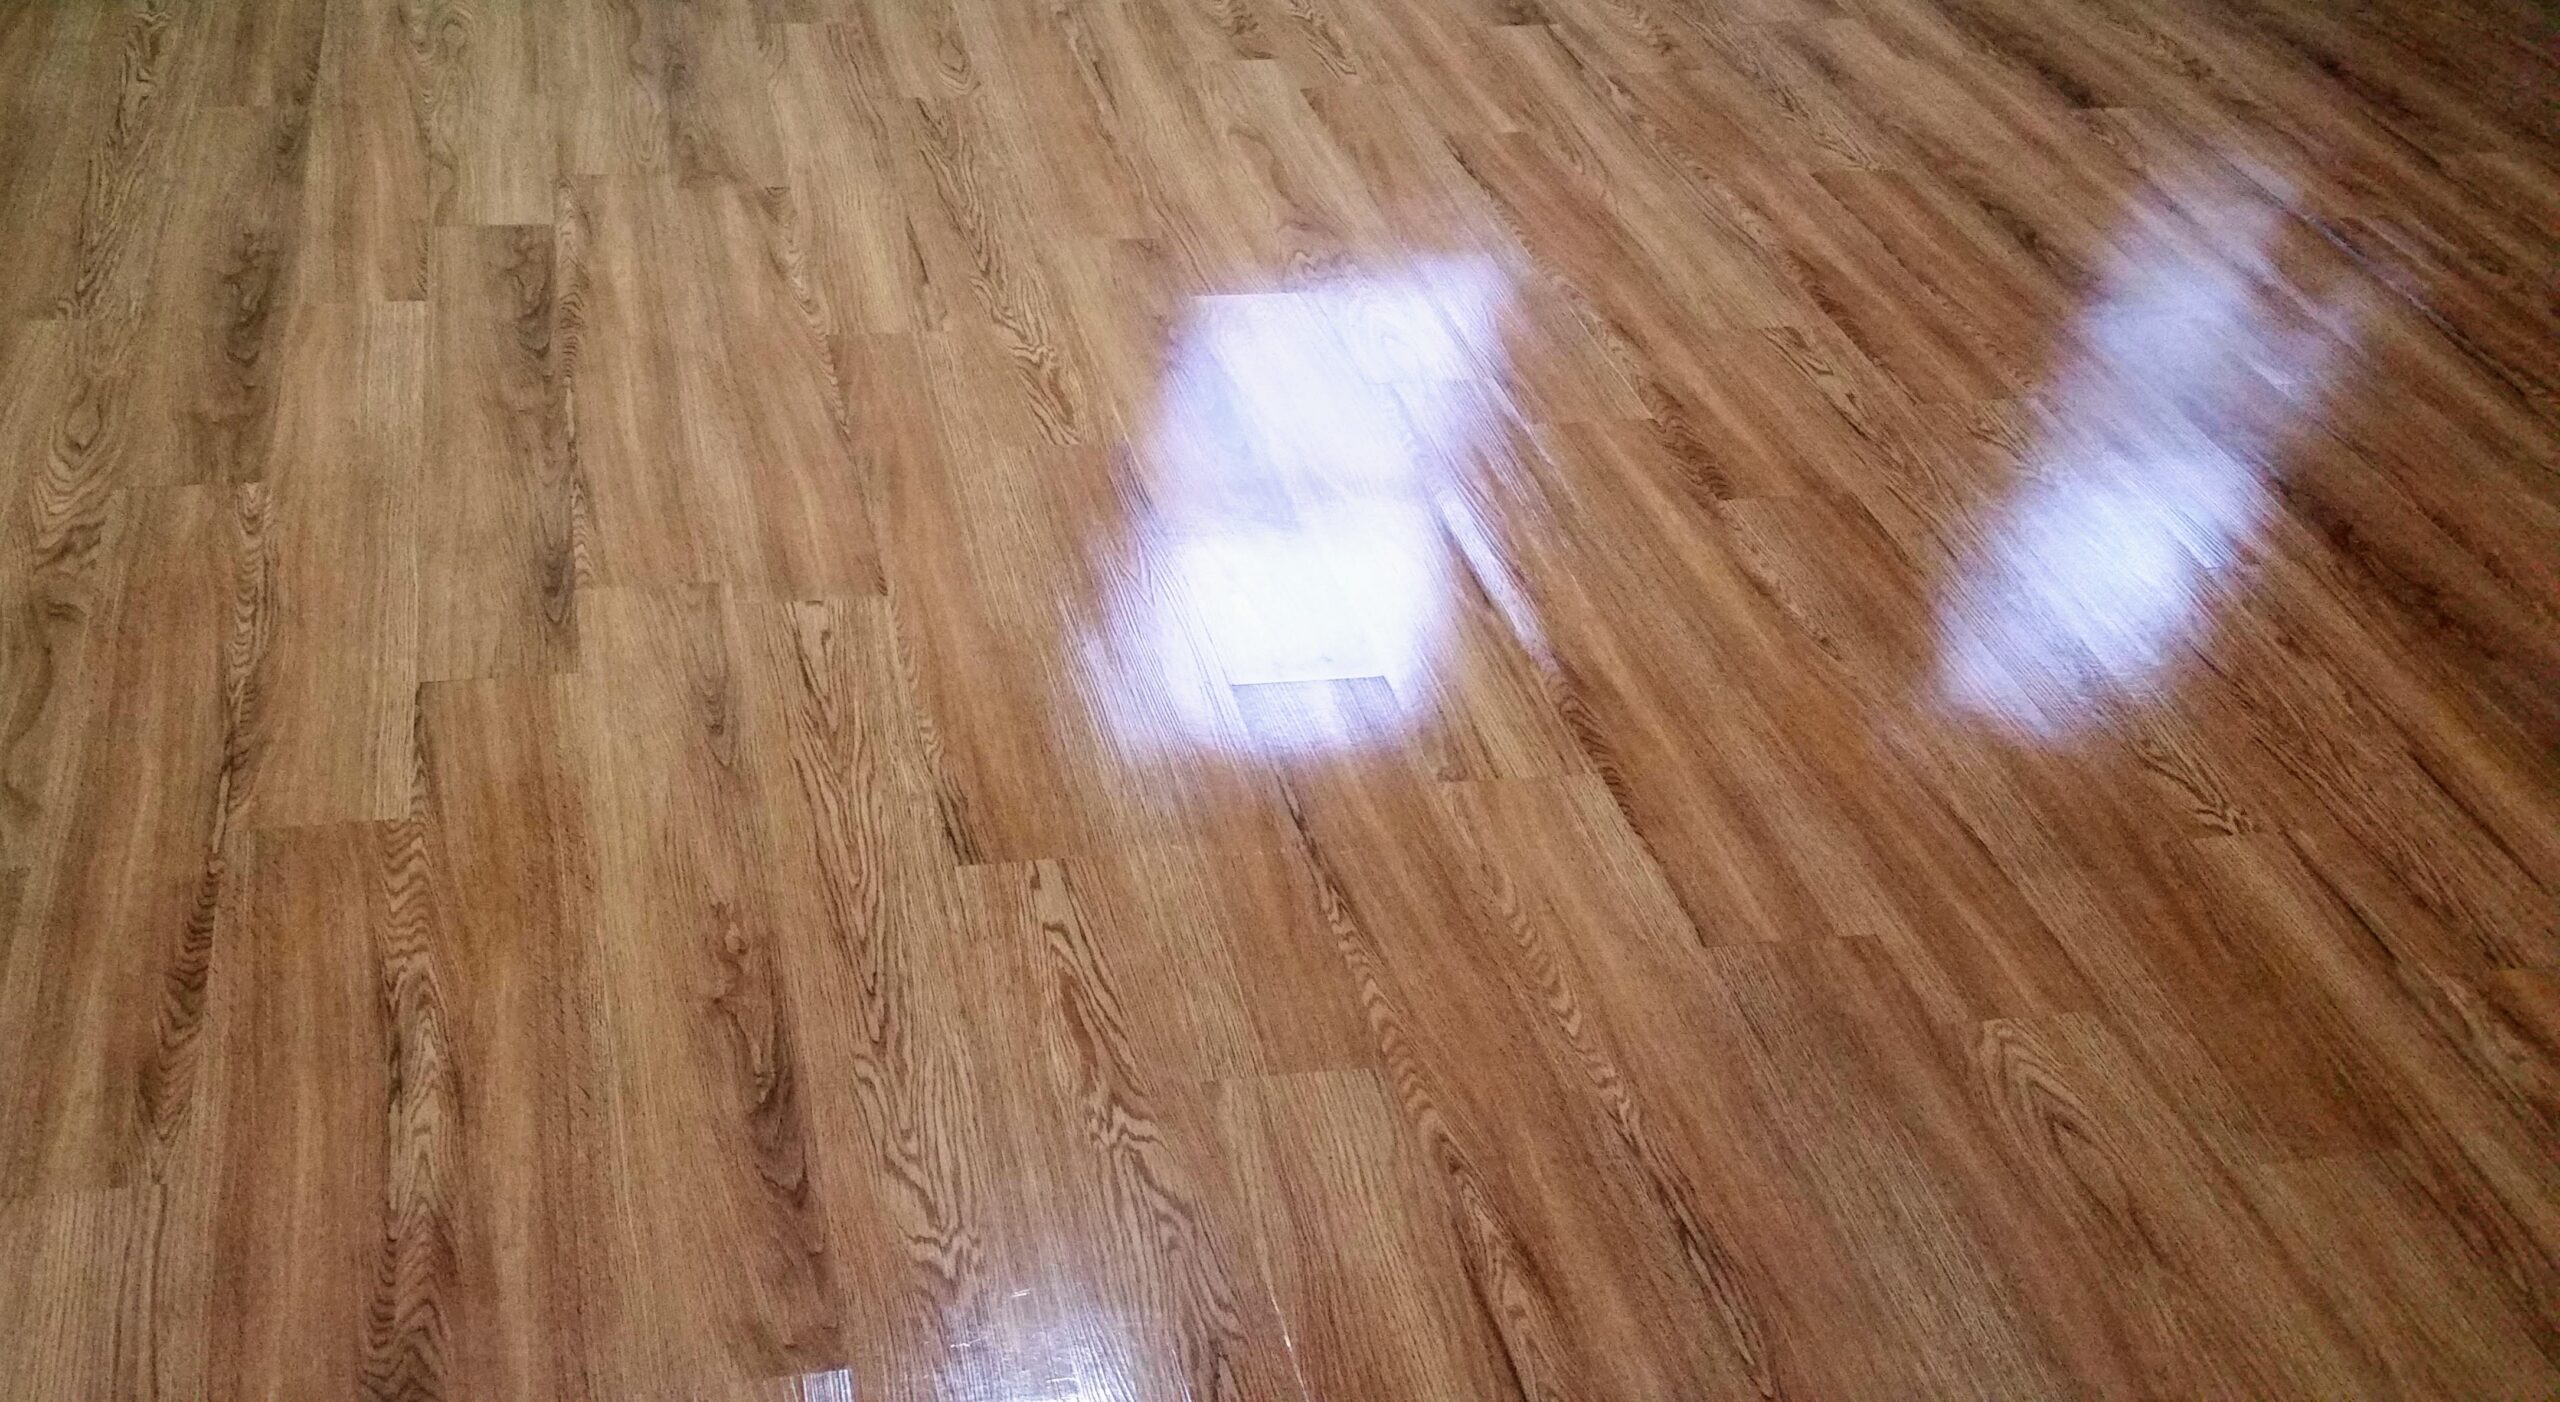
Versatile and timeless, hardwood floors can add depth, character, and charm to your home. The hardwood floor installation process begins with subfloor preparation and acclimating the wood. Choose your installation method (click-lock, nail down, or glue down). Remove the existing baseboards and install the underlayment. Lay out the new panels, leaving a half-inch expansion gap around the room’s perimeter, and secure them. Use baseboards and quarter rounds at doorways for a smooth, finished look.
How Can I Lay Hardwood Flooring? Your Guide to the Easy Installation Methods
Are you tired of your worn carpet and dreaming about a rich, gleaming oak floor? Do you know that hardwood floor installation can be a smart investment that promises warmth and boosts your home’s value significantly? A DIY Wood floor installation offers cost savings but requires skills and time. Whether you are installing engineered hardwood or a floating click-lock system, careful measuring, attention to detail and subfloor preparation are a must. If you are searching for wood flooring installation near me, safe and compliant professional installations provide flawless results, making your floors last for generations.
| Did you know? According to the National Association of Realtors’ Remodeling Impact Report, installing new hardwood flooring provides an ROI of 118% on home resale and can be an excellent financial investment. |
Here is your DIY hardwood installation guide for a timeless aesthetic appeal.
What Are the Initial Planning Steps?
Measure the length and width of your room to calculate the square footage. Order materials in advance and purchase around 15% extra material to account for any waste and errors. Clear the room and decide in which direction your planks will run. Usually, wood planks are placed parallel to the longest wall. Don’t forget an expansion gap of ¾ to ½ inch for wood’s natural expansion and contraction.
- Home Depot wood flooring offers flooring products, professional installation services, DIY hardwood flooring guides, and installation kits for different installation methods, ensuring successful results.
- How to Properly Acclimate Wood Before Installation?
Unpack your flooring and place it in the temperature-controlled installation room for at least a week to 10 days. Stack them with spacers in between for proper air flow. Using a moisture meter, check the moisture content of both the wood and the subfloor. Your wood flooring is ready to be installed when its moisture content matches that of the subfloor and is within the range of 2% to 4%.
| To avoid warping, the wood must properly acclimate to the conditions of the house before installation. Depending on the type of wood, its thickness, and the indoor humidity, it may take between 3 and 15 days. |
- How to Prepare Subfloor?
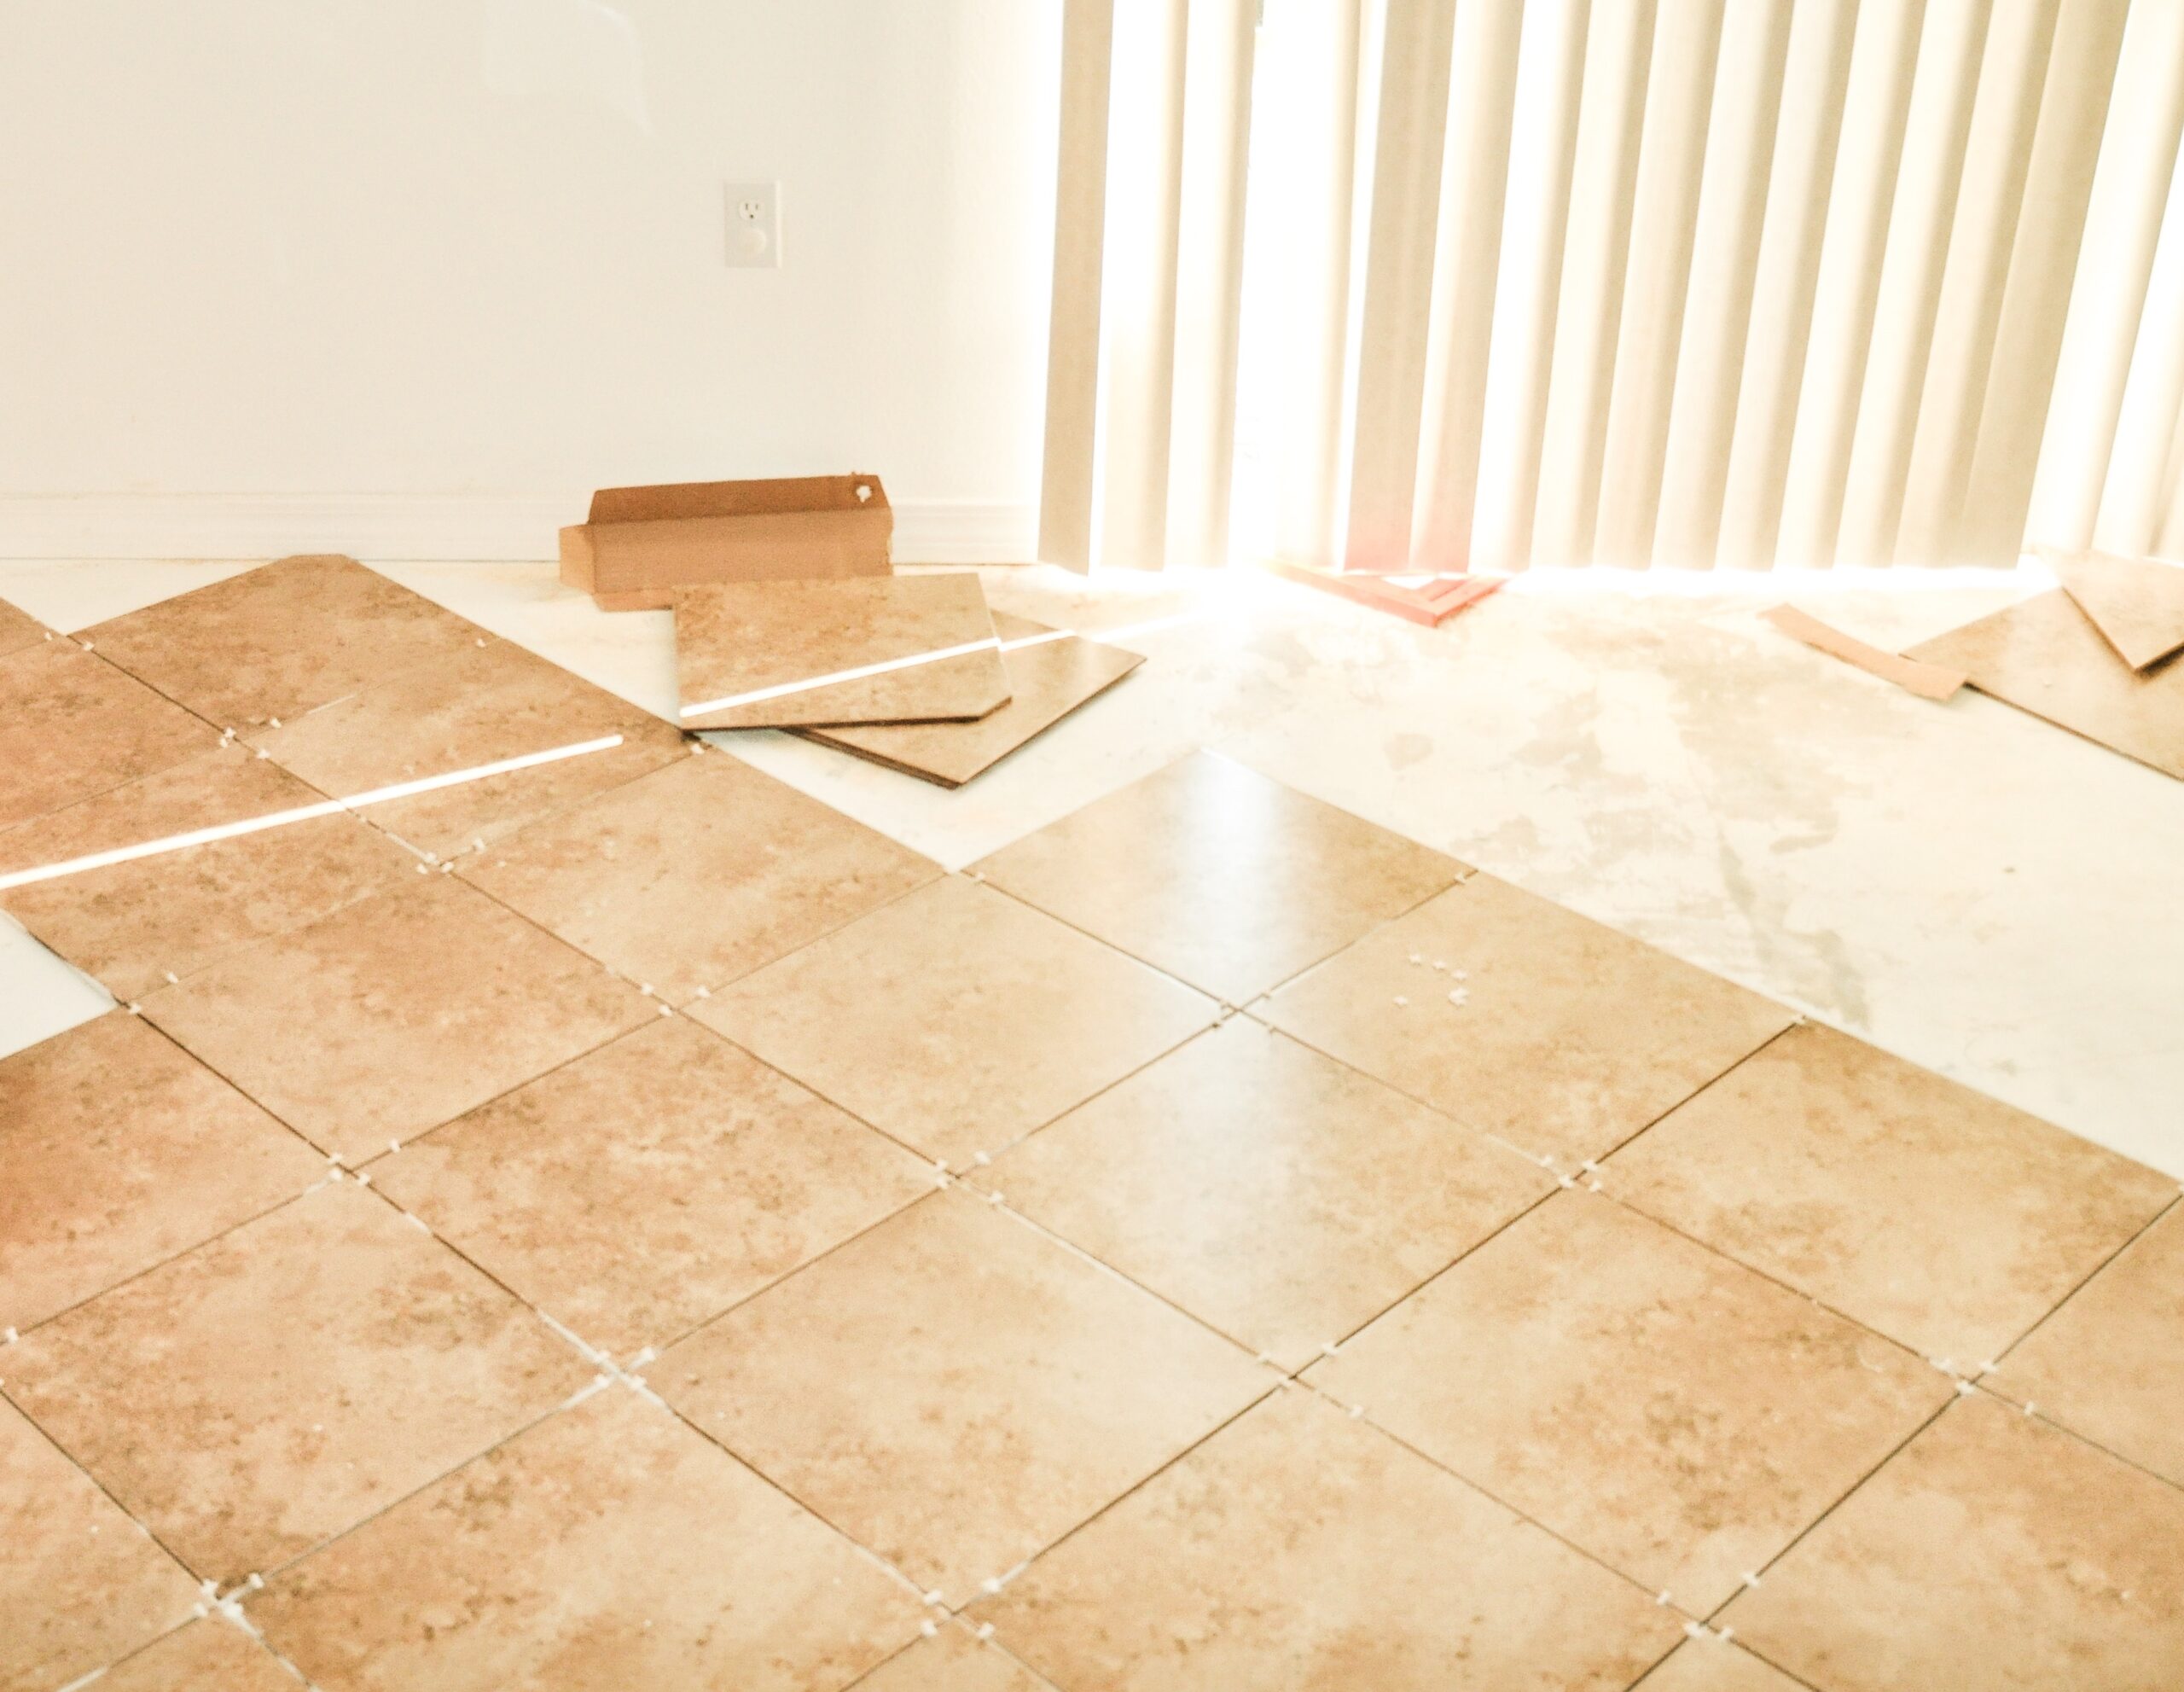
Remove all the existing flooring materials. Sweep all debris and inspect for any signs of damage, moisture, or unevenness. Sand down high spots and use a leveling compound to even out the surface. Check the subfloor’s moisture content. Install the vapor barrier or underlayment recommended by the manufacturer. Snap chalk lines to ensure a straight first row.
What are the installation steps?
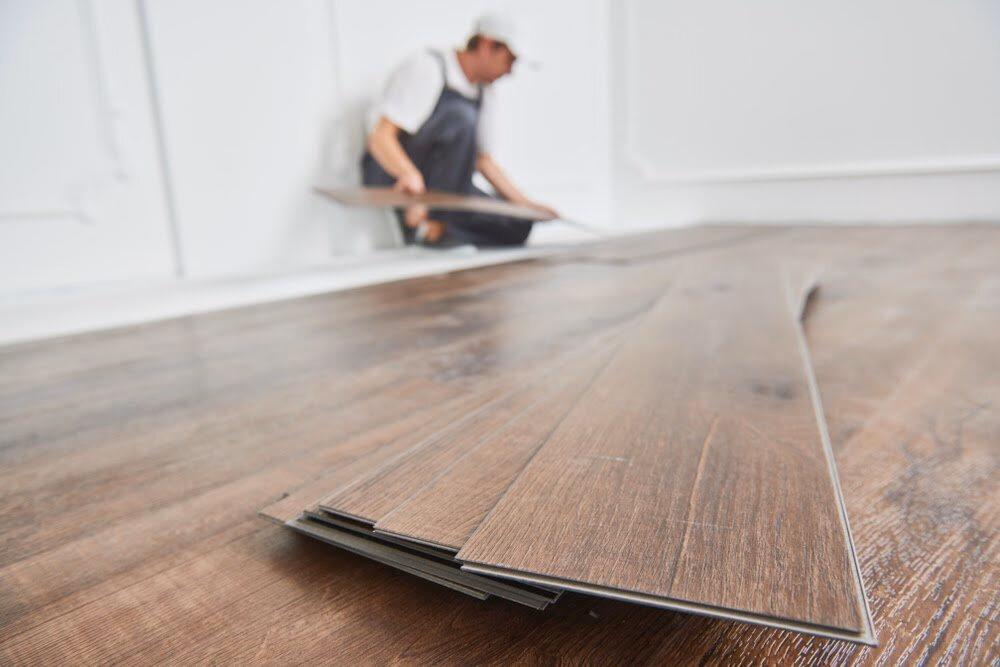
Use spacers and leave an expansion gap around the edges. Install your first row of flooring and secure it. Beginning with the longest board, nail it to the subfloor. The groove should face the room side. Align the next row board’s tongue with the groove of the first row boards. Face nail the first few rows and use a flooring nailer for subsequent rows to bind nails through the tongue.
Use adhesives for glue-down methods. For staggered seams, cut the last plank to size and use it to start the next row. Use a tapping block to make sure the planks are straight and a tight fit.
- What Finishing Touches Ensure a Smooth Look?
When dealing with doorways, undercut door jambs with a jamb saw and slide your new flooring piece underneath. Put a quarter-round molding or transition piece to cover the expansion gap, creating a smooth, seamless look. Use matching wood putty to fill any nail holes.
| Fast FactThe US hardwood flooring market is projected to reach $30.01 billion by 2033, growing at a CAGR of 5.1%. |
Conclusion
Installing hardwood floors requires careful planning and caution, and is achievable for DIY enthusiasts. With the right knowledge and tools, you can transform your ordinary space into an elegant room. However, if you are not comfortable with tools, hardwood flooring guides, and techniques, professional installation offers superior expertise, protects warranties and time savings. To avoid costly mistakes, stress and the hassle, choose an experienced hardwood flooring installation company and preserve your home value.
FAQs
How do I care for my newly installed hardwood floor?
Maintain your indoor humidity levels within the range of 30% to 50% and have a temperature range of 60-80 degrees Fahrenheit.
What are the most popular types of hardwood floors in US homes?
White oak, red oak, and engineered hardwood are the most preferred choices in US homes, chosen because of their durability and water resistance.
What is the lifespan of a hardwood floor?
According to the National Wood Flooring Association, hardwood floors can last many generations, reducing landfill waste, making them the most environmentally friendly flooring option.
What are the cleaning maintenance tips for hardwood floors?
Sweep regularly, occasionally use a damp mop, wipe spills immediately, and place rugs on high-traffic areas to prevent scratches and fading. Apply new protective coats every 2 years to maintain a gleaming look.
Is underlayment a must when installing hardwood floors?
Installing underlayment protects your flooring from moisture seepage, adds a supporting layer, and prevents creaking boards.